We ran to the RV parts store and seen a new faucet was going to cost us $178.00 plus tax. Well, my husband is on Workman's Compensation at the moment and that's a little out of our price range. Turns out, they sell faucet repair kits for $11.00 and that does fit our price range.
Daniel has never, ever done this before, but I'm going to show you how easy it is if you just use Google and try to tackle it. What's the worst thing that could happen? I'm already unable to use my kitchen faucet. In our fifth wheel you can't just turn the water off to the sink...you have to turn the water off to the whole RV. Here is the web page Daniel used to fix our faucet. Ours is a rotary ball faucet.

Here's what the bottom of our sink looks like. Right now Daniel is inside the cabinets under the sink. He just wanted to take a look first before we started. That's our dog BigThings. She likes to help. It's like having a 2-year-old.


After the handle is off you use this handy-dandy wrench to unscrew the cap. The white stuff is calcium build up. We also purchased a new water filter, because...yuck.

Here's a top-down view of the ball, cap, and plunge (which is really just a black rubber seal) altogether. Turns out when we push down the handle of the faucet, that pushes the ball, which pushes the plunge and that turns the water off. When we lift up on the handle the ball also comes up and the water comes on. I know that might be hard to understand at the moment, but just keep that in mind when looking at further pictures or when you are doing this yourself.


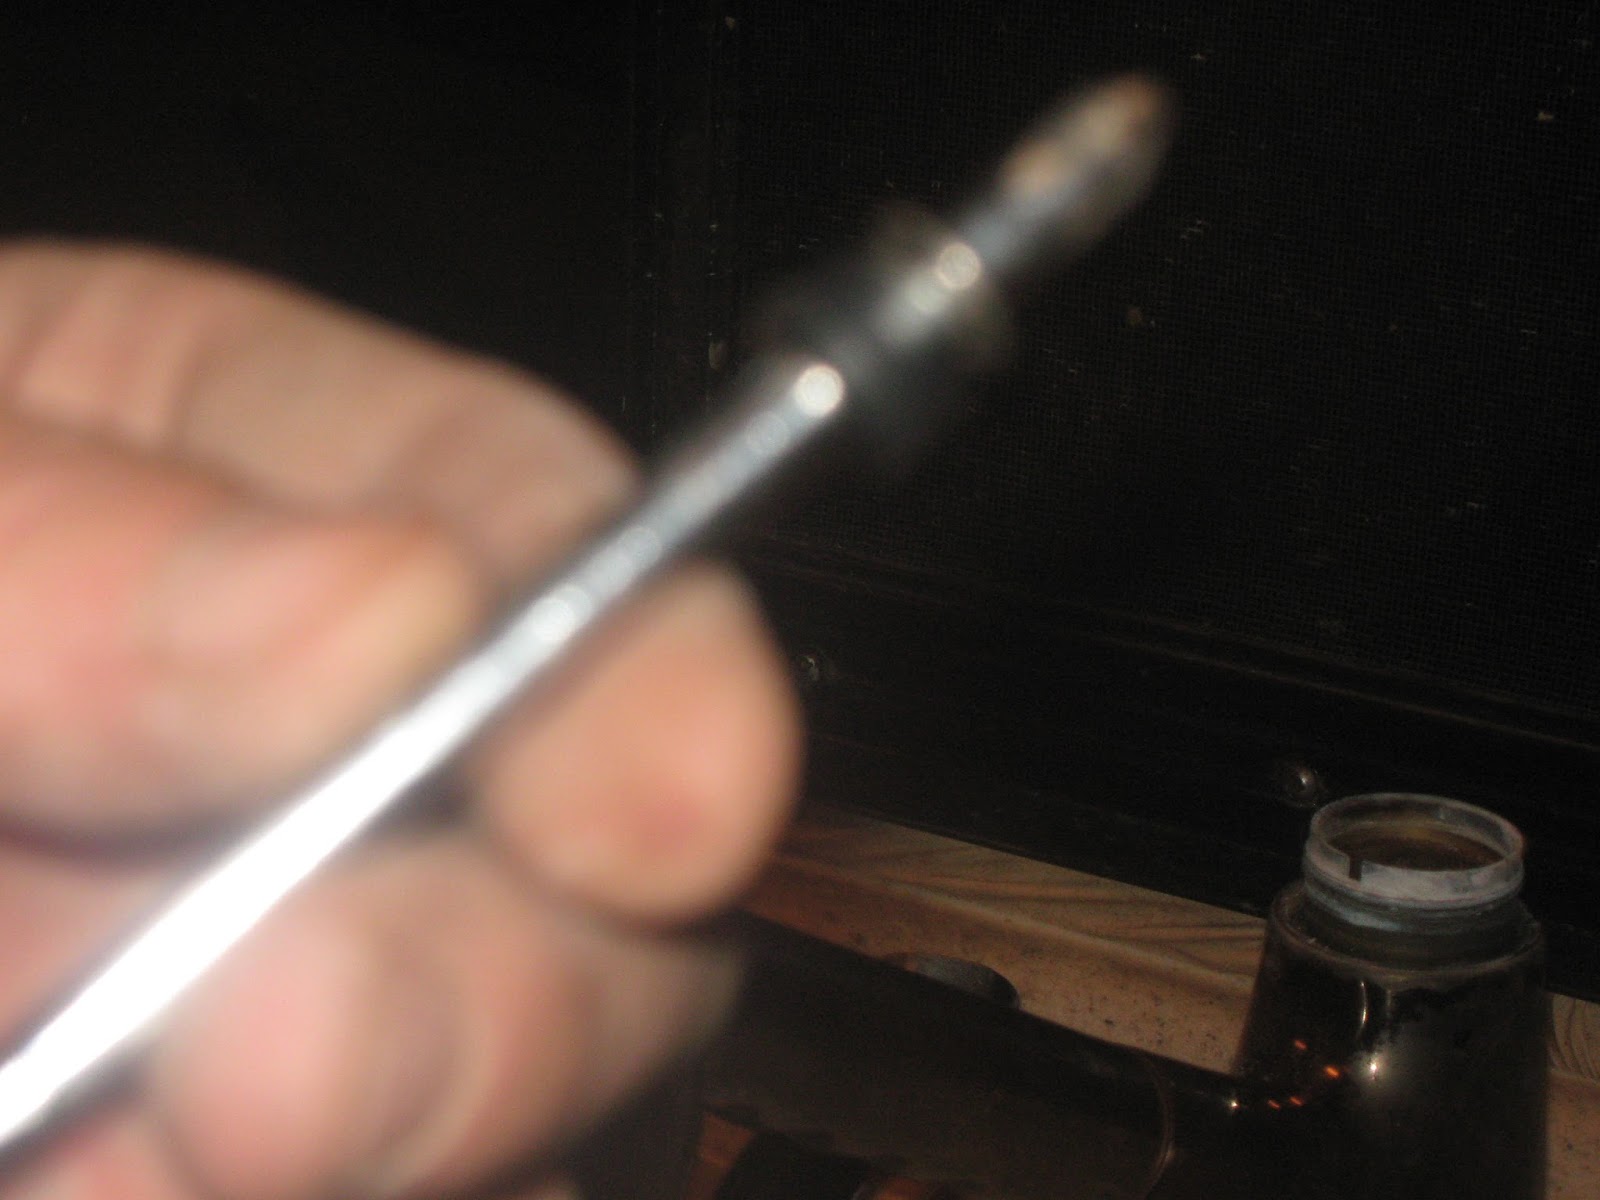
Daniel then did the 4th step listed on that link I gave you in the beginning. "Lift out the two rubber seats and springs with a screwdriver. Make note of the orientation of the tapered spring..." Now when he went to put the seats and springs back he put them on the end of his screwdriver and put them in place that way. Sorry it's blurry.
Then he put in the ball, then the plunge, then the cap. Ensure you have the orientation right. There are notches and it will be very apparent how it goes in.

He had to use a wrench on the allen key to loosen the screw so it would fit back on. Don't snap your allen key.

It's almost done!

Back together and it works. Only took $11.00 and about 1/2 hour.

Thanks for posting this. Our possessions require maintenance - whether it's cleaning, tidying, repairing, improving, studying, checking... And the more we can 'insource' this, the less of a financial strain it is. It's always worth a try to do it yourself.
ReplyDeleteWell done.:)
P.S. Typical puppers - they always want to get amongst it. Right by your side... :)